



How to Install eSIM on iPhone? A Pictured and Simple Guide (Step-by-Step)
Planning a trip abroad and wondering how to stay connected without breaking the bank? If you have an iPhone from recent years, the solution is simpler than ever. In this detailed guide, we'll explain to you, step by step, how to install eSIM on iPhone, how it saves you money and hassle, and how you can be connected to the internet from the moment you land. Gone are the days of expensive and bloated data plans from cellular companies, or the tedious search for a physical SIM card at a foreign airport. eSIM technology is changing the game, and activating it is surprisingly simple.
Important to know: nRed's eSIM service for international data plans is completely digital. There's no need to wait for a courier or collect a physical card. Immediately after your purchase on the website, you'll receive a QR code directly to your email, ready for instant installation.
Why Do You Need eSIM for a Trip Abroad? (The End of Plastic Cards)
Until recently, our options for cellular data abroad were limited and cumbersome. The first option was to purchase an expensive data plan from your Israeli cellular provider, a plan that typically offered a small amount of data at an inflated price. The second option was to land at your destination, search for a local kiosk or cellular store, stand in line, fill out forms, and hope the local SIM would work as expected. All while removing your delicate Israeli SIM card from the device and risking losing it.
The eSIM (short for Embedded SIM) is essentially a digital SIM card built directly into your iPhone. It allows you to download and install a cellular provider "profile" directly to your device, without needing a plastic card. This is a true revolution in telecommunications, and it offers tremendous advantages for travelers:
- Maximum convenience: Buy a plan online from home, scan a QR code, and you're done. You're ready for your flight. No need to leave your house or search for stores abroad.
- Significant savings: eSIM plans are typically much cheaper than "roaming" plans from major Israeli companies.
- Keep your Israeli number: iPhones support Dual SIM technology, which allows you to use eSIM for data abroad while keeping your Israeli SIM active for calls and messages.
- The biggest advantage with nRed: Your WhatsApp stays on your original Israeli number. All your contacts, all your groups, everything remains exactly the same. You remain available to family and friends as if you never left the country.
This technology makes staying connected abroad a simple, affordable, and instant experience. Instead of starting your vacation stressed, you land, activate the eSIM, and you're connected immediately. Ready to get started? Find the perfect eSIM plan for your trip.
Preparation: 3 Things to Check Before Installing eSIM
Before you rush to purchase a plan, there are three important prerequisites you need to verify to ensure the installation process goes smoothly and without issues. Spending two minutes on these checks will save you time and worry later.
1. Verify Device Compatibility
Not every iPhone supports eSIM technology. Generally, Apple began integrating the technology starting with iPhone XS, iPhone XS Max, and iPhone XR models, and all models released after them (series 11, 12, 13, 14, 15, etc.) support it. However, it's always recommended to verify definitively. The easiest way is to check our updated list. Don't skip this step!
Before purchasing: Check the list of supported devices first to confirm your iPhone is ready for eSIM.
2. Check That Your iPhone is "Unlocked"
In order for you to use an eSIM from another service provider (like nRed), your iPhone must be "unlocked" for use on all networks (SIM-Free or Unlocked). The vast majority of iPhones purchased in Israel through official importers or private stores come unlocked. In the past, cellular companies would lock devices to their network, but this practice has almost disappeared. If you purchased your device abroad through a specific cellular company on a long-term contract, it may be locked. You can check this in Settings > General > About and look for the "Carrier Lock" field. If it says "No SIM restrictions," you're good to go.
3. Stable Internet Connection (Wi-Fi)
The eSIM installation process is essentially downloading a network profile to your device. For this download to occur, your iPhone must be connected to the internet. Therefore, it's highly recommended to perform the entire installation process at home or at your hotel, while connected to a stable and reliable Wi-Fi network. Don't wait until the last moment at the airport, where public Wi-Fi may be slow or unsecured. Install the eSIM at home at your leisure, and it will wait patiently in your device until you land at your destination. For additional technical information, you can also refer to Apple's official guidelines.
Pictured Installation Guide: Activating nRed's eSIM on iPhone (In 5 Simple Steps)
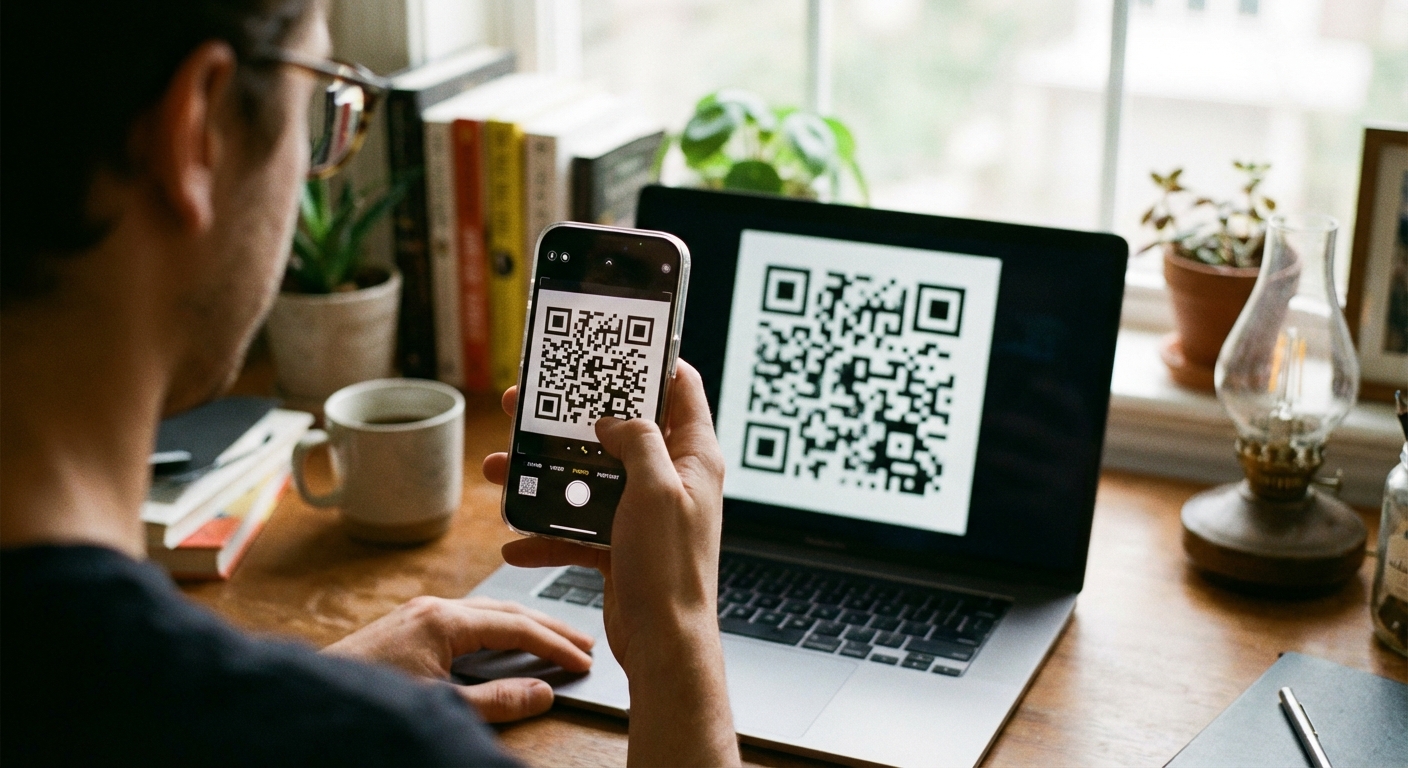
We've reached the practical part. Installing nRed's eSIM is a quick and intuitive process, most of which is done through iPhone settings you already know. Follow the steps below, and you'll be connected within minutes. It's recommended to open the email with the QR code on a computer or tablet so you can scan it comfortably with your iPhone's camera.
Step 1: Purchase an nRed Plan and Receive Your QR Code
Visit the nRed website, choose your destination or region, select the data plan that suits you (based on volume and validity), and fill in your payment details. The process is secure and conducted in shekels, with no unnecessary conversion fees. Within seconds to a few minutes of completing your purchase, you'll receive a confirmation email with a unique QR code. This code is your key to staying connected abroad.
Step 2: Access Cellular Settings on Your iPhone
Open your iPhone and go to the home screen. Tap the Settings app (the gear icon). Within the Settings menu, scroll down a bit and tap Cellular.
Step 3: Choose "Add eSIM" and Scan the Code
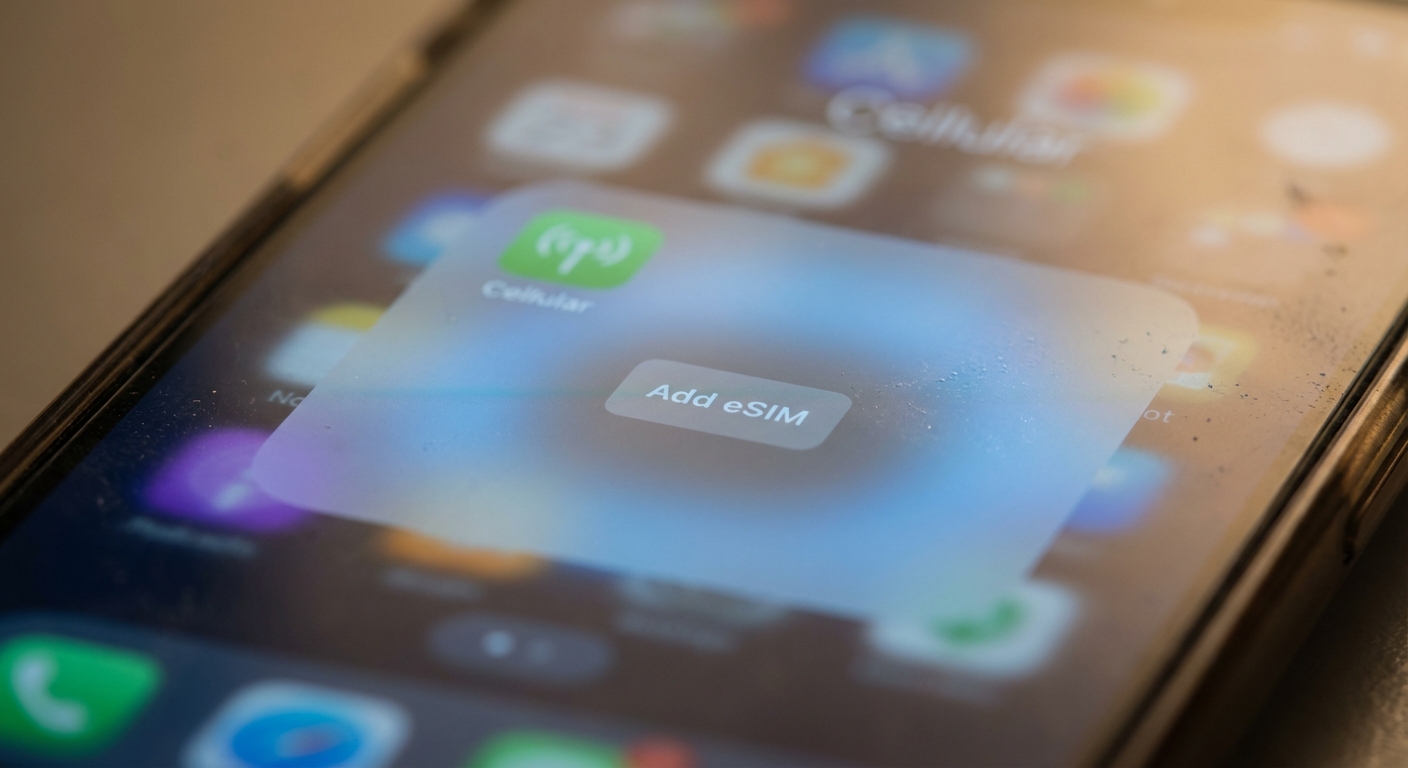
On the Cellular screen, you'll see a list of active SIM cards on your device (usually your Israeli physical SIM). Look for the blue button "Add eSIM" or "Add Cellular Plan" and tap it. Your iPhone will present you with two options. Choose the option "Use QR Code". Your iPhone's camera will open. Now, point the camera at the QR code you received by email from nRed. The device will automatically recognize it and begin the plan verification process.
Step 4: Configure Your New Cellular Plan
After your iPhone recognizes the plan, it will take you through several brief setup screens. This is the most important part to ensure proper operation:
- Cellular Plan Label: Your iPhone will ask you to name (label) the new line. It's recommended to choose a clear name like "International Data" or "Italy eSIM" so you can easily distinguish it from your Israeli line.
- Default Line: You'll now be asked to choose which line will be the default for calls and messages. Choose your primary line (your Israeli number) to continue using it as usual.
- iMessage and FaceTime: Make sure your Israeli number is marked here as well.
- Cellular Data (Most Important!): On this screen, your iPhone will ask which line to use for internet browsing. Here you must choose the new label you created (for example, "International Data"). Make sure the "Allow Cellular Data Switching" toggle is off to prevent your iPhone from accidentally using your expensive Israeli plan.
Step 5: Enable "Data Roaming" for Your eSIM
Installation is complete! Your eSIM is now in your device, but it's not yet active. It will go into operation only when you reach your destination. When you land abroad, go back to Settings > Cellular. Tap your new eSIM line ("International Data"). In the line settings screen, you'll see a toggle called "Data Roaming". Enable it. Within moments, your iPhone will connect to the local cellular network, and you'll have internet. That's it, you're connected!
Tips and Troubleshooting Common Issues
Even the simplest process can raise questions. We've compiled some of the most common questions and issues here to give you complete peace of mind before and during your trip.
- I installed the eSIM in Israel, will it charge me? No. Your plan begins its "day count" only when the eSIM first connects to a supported cellular network at your destination. The installation itself in Israel doesn't activate the plan and doesn't incur any charges.
- The QR code won't scan, what do I do? In rare cases, there may be scanning issues. Don't worry. In the email you received from nRed, alongside the QR code, you'll find manual activation details. On the QR code scanning screen on your iPhone, there's a small option at the bottom of the screen: "Enter Details Manually." Tap it and copy the address and codes from the email to the appropriate fields.
- How do I know the eSIM is active and working? After enabling "Data Roaming" at your destination, look at the status bar at the top of your iPhone screen. You should see two signal indicators (one for your Israeli SIM and one for your eSIM), or see the local network name (for example, Vodafone, Orange) appear. If you see a signal indicator and a 4G/5G/LTE symbol, it means you're connected.
- How do I turn off the eSIM when I return to Israel? When you return to Israel, simply go back to Settings > Cellular, select your eSIM line, and turn off the "Enable This Line" toggle. That's it, the eSIM is off and won't try to connect to any network. You can delete it completely or leave it off for your next trip.
Frequently Asked Questions About eSIM on iPhone
We've compiled answers to the most common questions we hear from our customers so you can fly with peace of mind and enjoy continuous, convenient connectivity.
Do I lose my Israeli number when I install eSIM?
Not at all, and that's one of the greatest advantages of eSIM technology. Your iPhone works in "Dual SIM" mode. Your physical Israeli SIM remains active in your device, and you can continue to receive calls and SMS messages to it (subject to an international plan from your Israeli provider, if you have one). And most importantly – your WhatsApp continues to work with your Israeli number without any changes. You remain completely available to all your contacts.
When is the best time to install nRed's eSIM?
Our unequivocal recommendation is to install it comfortably at home, a day or two before your flight, when you have a stable Wi-Fi connection and free time. The installation process takes just a few minutes. The plan won't start operating and you won't waste a single day of its validity until you physically reach your destination and enable the "Data Roaming" option. The advantage is that once the plane lands, all you need to do is flip one switch, and you'll be connected immediately, without searching for Wi-Fi at the airport.